That small hole left behind after removing a wall anchor seems innocent enough, yet it becomes the source of frustration for countless homeowners who wonder why their repair attempts always look amateurish. The truth is, most people unknowingly sabotage Their Own handiwork with a well-intentioned but fundamentally flawed approach that guarantees visible patches.
The Mistake is deceptively Simple-rule-changes-everything-about”>Simple-object-prevents-bird-water-from-freezing-in-your-garden”>Simple-repurposing-trend-is-transforming-how-we”>simple: applying spackling compound or filler directly into the hole Without Any preparation. This seemingly logical approach creates a repair that inevitably shrinks, cracks, or becomes visible once painted. Professional contractors know that the hole itself isn’t the real problem – it’s what’s Hidden behind it that determines whether your repair will be Invisible-finish-is-driving-all-architects-crazy-in-2026″>Invisible or glaringly obvious.
When an anchor is removed, it often leaves behind loose drywall material, tiny fragments, and sometimes even a slightly enlarged opening that’s larger than the original screw hole. Dumping filler into this compromised cavity is like building a house on unstable ground. The compound has nothing solid to grip onto, leading to shrinkage as it dries and eventual failure of the repair.
Understanding Why Standard Approaches Fail
The physics behind failed hole repairs reveal why good intentions go wrong. Spackling compound undergoes significant shrinkage as water evaporates during the curing process. When applied to an unprepared cavity, this shrinkage becomes concentrated in the deepest part of the hole, creating a visible depression that paint cannot hide. Additionally, loose debris around the hole’s edges prevents proper adhesion, causing the repair material to eventually separate from the surrounding wall surface.
Temperature changes compound the problem. As your home’s temperature fluctuates throughout the seasons, the wall material expands and contracts slightly. A poorly anchored repair lacks the flexibility to move with these natural shifts, leading to hairline cracks that become more pronounced over time. This explains why repairs that looked acceptable initially begin showing their flaws months later.
The type of wall anchor originally used also influences the complexity of the repair. Toggle bolts create larger holes with irregular shapes, while plastic anchors might leave behind fragments embedded in the drywall. Each scenario requires a slightly different approach, yet most homeowners apply the same one-size-fits-all mentality that leads to subpar results.
The Professional Technique That Actually Works
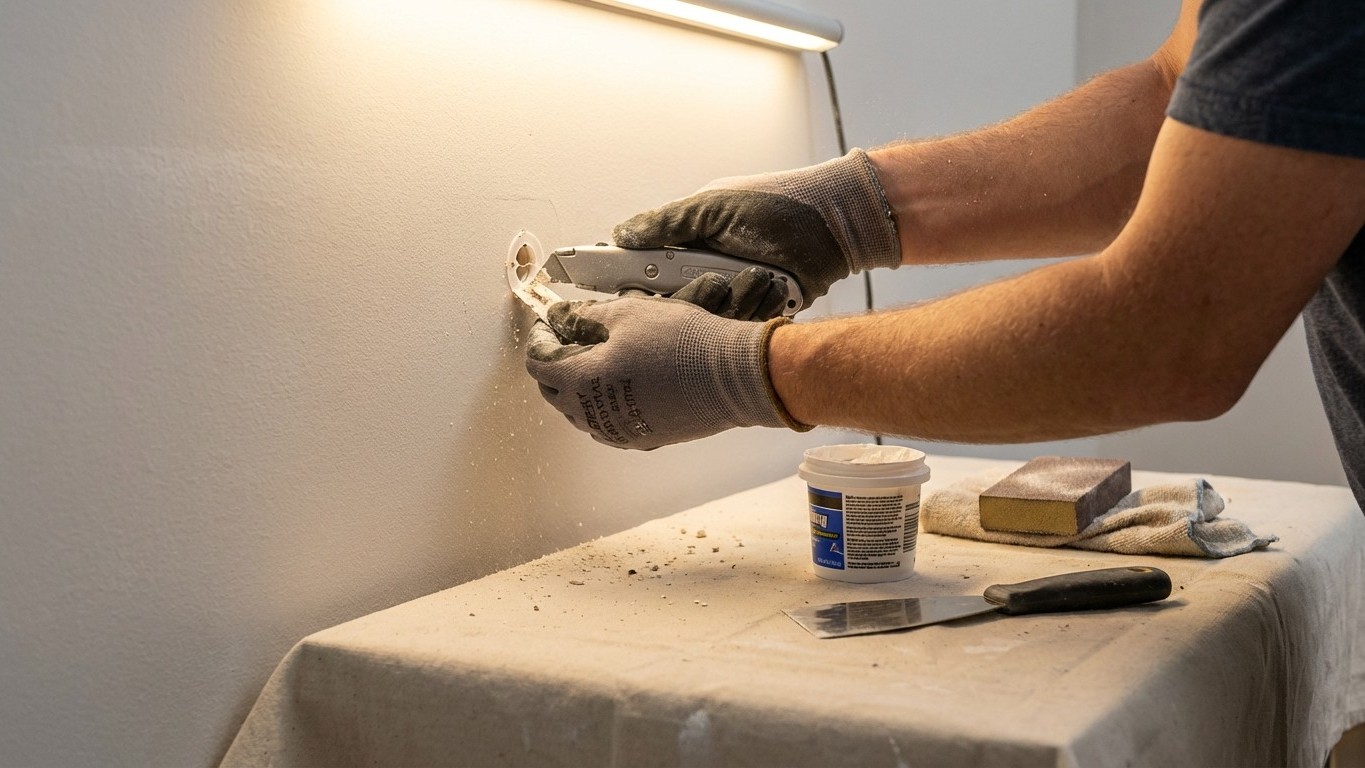
Professional painters and handymen follow a methodical preparation process that ensures invisible repairs Every Time. The technique begins with thorough cleaning of the hole and surrounding area. Using a utility knife or small screwdriver, they carefully remove any loose drywall fragments, anchor remnants, or damaged paper facing around the hole’s perimeter. This creates clean, solid edges that provide proper adhesion points for the repair material.
The next crucial step involves assessing the hole’s size and depth. Holes larger than a pencil eraser require reinforcement to prevent the filler from simply disappearing into the wall cavity. Professional repair specialists use mesh patches, fiberglass tape, or even small pieces of drywall as backing material. This backing creates a foundation that supports the filler and prevents it from being pushed through to the other side.
For smaller holes, the pros use a technique called “building up in layers.” Rather than attempting to fill the entire cavity at once, they apply thin coats of high-quality joint compound, allowing each layer to fully cure Before adding the next. This approach minimizes shrinkage and creates a repair that’s actually stronger than the original wall surface. The first coat is applied slightly below the wall surface, the second brings it nearly flush, and the final coat extends slightly beyond the repair area for seamless blending.
The choice of repair material matters significantly. While basic spackling compound might seem adequate, professional-grade joint compound offers superior adhesion and minimal shrinkage. Some specialists prefer mesh-reinforced compounds for their added strength and crack resistance. The investment in quality materials pays dividends in the longevity and appearance of the final repair.
Finishing Techniques That Make Repairs Disappear
Primer application represents another critical step that many homeowners skip. A high-quality primer designed for patched surfaces ensures uniform paint absorption and prevents the repair from showing through the topcoat. Without proper priming, even perfectly executed repairs can appear as dull spots or color variations that betray their location.
The final paint application requires patience and technique. Professional painters apply thin, even coats using the same tool and technique used for the surrounding wall. Whether that’s a roller, brush, or spray application, matching the existing texture and application Method ensures the repair blends seamlessly with the original surface.
Understanding these professional techniques transforms hole repair from a frustrating chore into a satisfying skill. The key lies in recognizing that proper preparation, quality materials, and patience create results that remain invisible for years. By avoiding the common mistake of rushing straight to the filler application, you can achieve repairs that even trained eyes struggle to detect.