
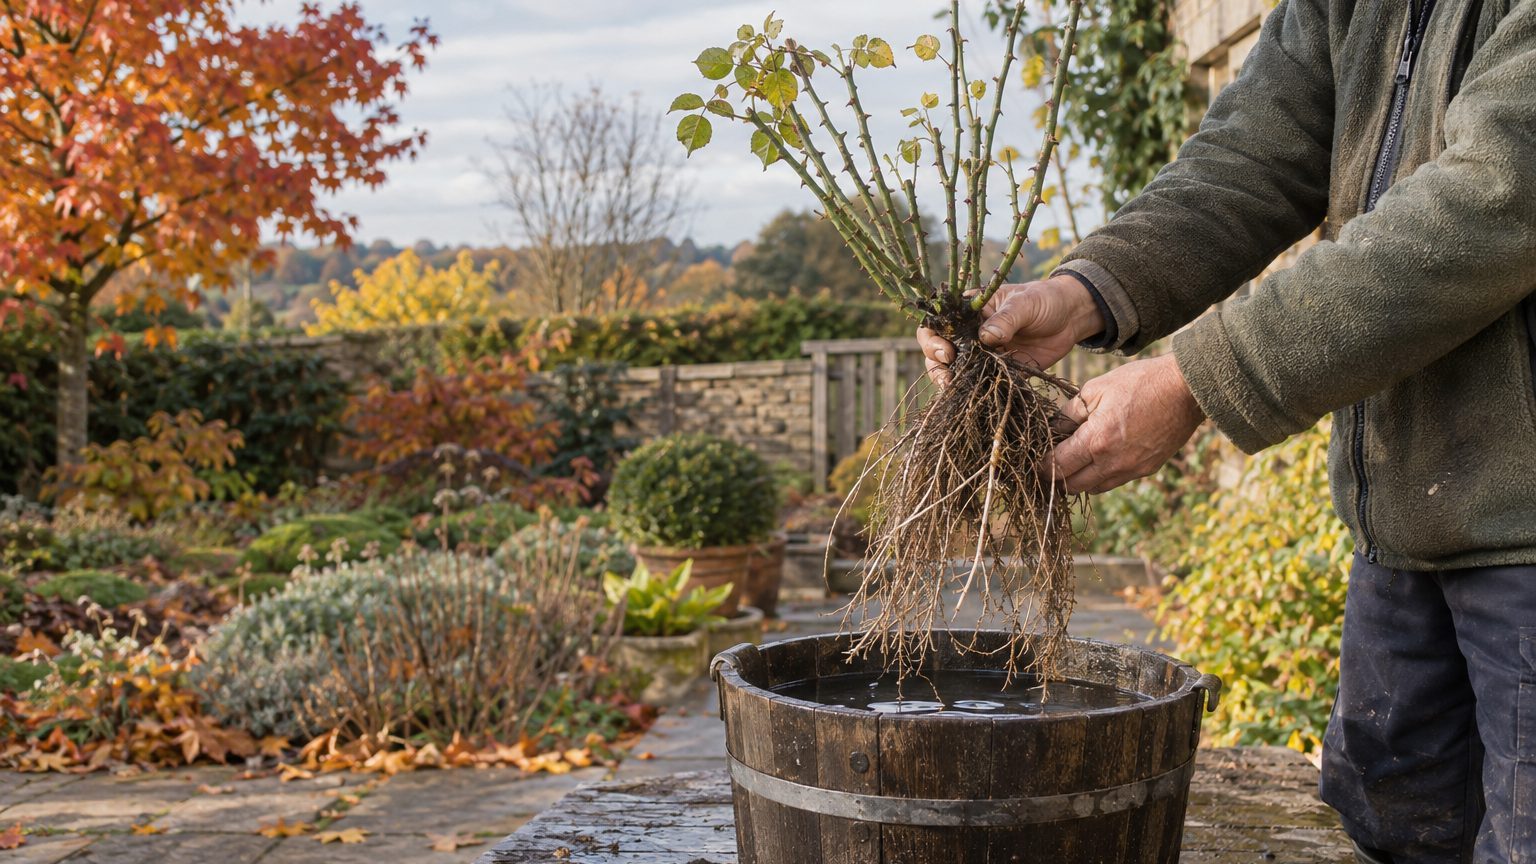
Bare root roses go into UK ground between late October and March, while the plants are dormant and the soil can still be worked. The sweet spot is November to mid-December, when the earth still holds some of summer’s warmth and the roots have months to settle in before spring.
Frozen or waterlogged soil is the only real veto.
The appeal of bare root is easy to see. The plants are lifted from the field and shipped without pot or compost, which makes them cheaper than their potted cousins and opens up the catalogs of specialist growers who carry far more varieties than any garden center shelf. You also skip the plastic pot, which is a small win on its own.
- Bare root roses go into UK ground between late October and March.
- Soaking the roots for several hours before planting prevents them from drying out.
- The bud union should sit at soil level or up to one inch below it.
The planting window, month by month
November is the gold standard. Growers begin dispatching plants from late October or early November, the soil is damp and not yet cold, and roots can start knitting into the surrounding earth even as the top growth sleeps. December works nearly as well, as long as you avoid days when the ground is stiff with frost. January and February are fair game on mild days, and March is the last call: once the buds begin to swell and break, a bare root rose has to spend energy on leaves before its roots can support them.
Pot-grown roses can be planted nearly year-round, but a bare root plant gives you a window of about five months. Miss it and you wait until next autumn.
What if your parcel arrives and the ground is a skating rink? Leave the plants in their wrapping and store them somewhere cool, dark and frost-free, such as an unheated shed, for a few days at most.
Never leave them in a heated garage.
If the wait will stretch longer, heel them in. Dig a shallow trench in a sheltered spot, lay the plants at an angle, and cover the roots and the lower stems with soil, firming it lightly. They will sit happily like this for a few weeks, which beats letting them dry out on a doorstep.
For readers in the States, the logic is the same. Most of Britain sits in roughly USDA zones 8 and 9, so the dormant-season rhythm will feel familiar if you garden somewhere with mild, wet winters. In colder regions, the equivalent window shifts to late winter or early spring, as soon as the ground thaws.
The soaking step nobody should skip
A bare root rose arrives in a state of mild dehydration. Its fine roots, the ones that actually drink, dry out in minutes if they sit in wind or sun. Before anything goes into the ground, the whole root system should spend at least an hour submerged in a bucket of water, and several hours is better. Overnight is fine, but past 24 hours you risk drowning the roots.
Use the soaking time for housekeeping. With clean, sharp secateurs, snip off any roots that are broken, blackened or mushy, and shorten very long ones so they fit the hole without curling. Remove any dead or spindly stems too.
Then there is the matter of fungi. Dusting the damp roots with mycorrhizal fungi, a powder sold in small tubs at garden centers and online, puts them in direct contact with the beneficial organisms that help roses draw water and nutrients. The Royal Horticultural Society recommends it for roses, and it matters most in one specific situation.
That situation is replanting where a rose has stood before. Roses planted into soil that has grown roses for years can stall, producing weak, stunted growth in what gardeners call rose replant disease. The standard fix is to dig out a hole roughly 18 inches (45 cm) deep and wide, fill it with soil from another part of the garden, and add the mycorrhizal powder. Better still, choose a fresh spot.
The planting depth that matters
Look closely at the base of a grafted rose and you will find a swollen knuckle where the chosen variety was joined to a tougher rootstock. That is the bud union, and its position relative to the soil is the detail that separates thriving roses from sulking ones. In UK conditions, plant so the union sits at soil level or just below it, up to about an inch (2.5 cm) under. Many growers also look for a dark soil mark on the stem, which shows how deep the plant stood in the field.
A cane laid across the hole makes a handy gauge. Rest it on the rim, then adjust the plant until the union meets the cane or dips just below it.
Dig the hole wider than you think you need, roughly 12 inches (30 cm) deep and broad enough to spread the roots in every direction without bending them. Break up the bottom with a fork so water can drain and roots can chase it downward. Mix some well-rotted compost or manure into the soil you took out, but keep concentrated fertilizer away from the roots, which can scorch tender new growth.
Mound a little soil in the center, drape the roots over it like a skirt, and backfill in stages. Firm the ground with your heel as you go, because air pockets around the roots are the enemy. Water in generously, around two gallons (10 liters) per plant, even when the weather has been wet.
A 2-inch (5 cm) layer of mulch comes next, kept back from the stems so it does not trap moisture against the bark. Space bush roses about two feet (60 cm) apart so air can move between them, which cuts down on blackspot.
Pruning completes the job. Once the plants are in, cut each stem back to roughly 4 to 6 inches (10 to 15 cm), just above an outward-facing bud. It feels brutal, but it pushes the plant to invest in roots first and gives you a sturdier framework by summer.
Own-root roses, which grow on their own roots rather than on a graft, have no bud union to worry about. For those, plant to the soil mark on the stem, and going slightly deeper does no harm.