A soggy patch of basil dying next to drought-loving rosemary. Mint quietly colonizing everything within reach. Sound familiar? For years, the classic herb garden setup, a few pots crammed together or a flat bed near the kitchen door — creates more frustration than flavor. The dry stone spiral solves this with disarming elegance, and it fits in a space smaller than most bathroom rugs.
Key takeaways
- One structure mysteriously creates three completely different growing conditions—but how?
- Six to eight hours of work with zero specialized tools yields a year-round transformation
- The real secret lies in what happens after you finish building it
Why a spiral changes the rules entirely
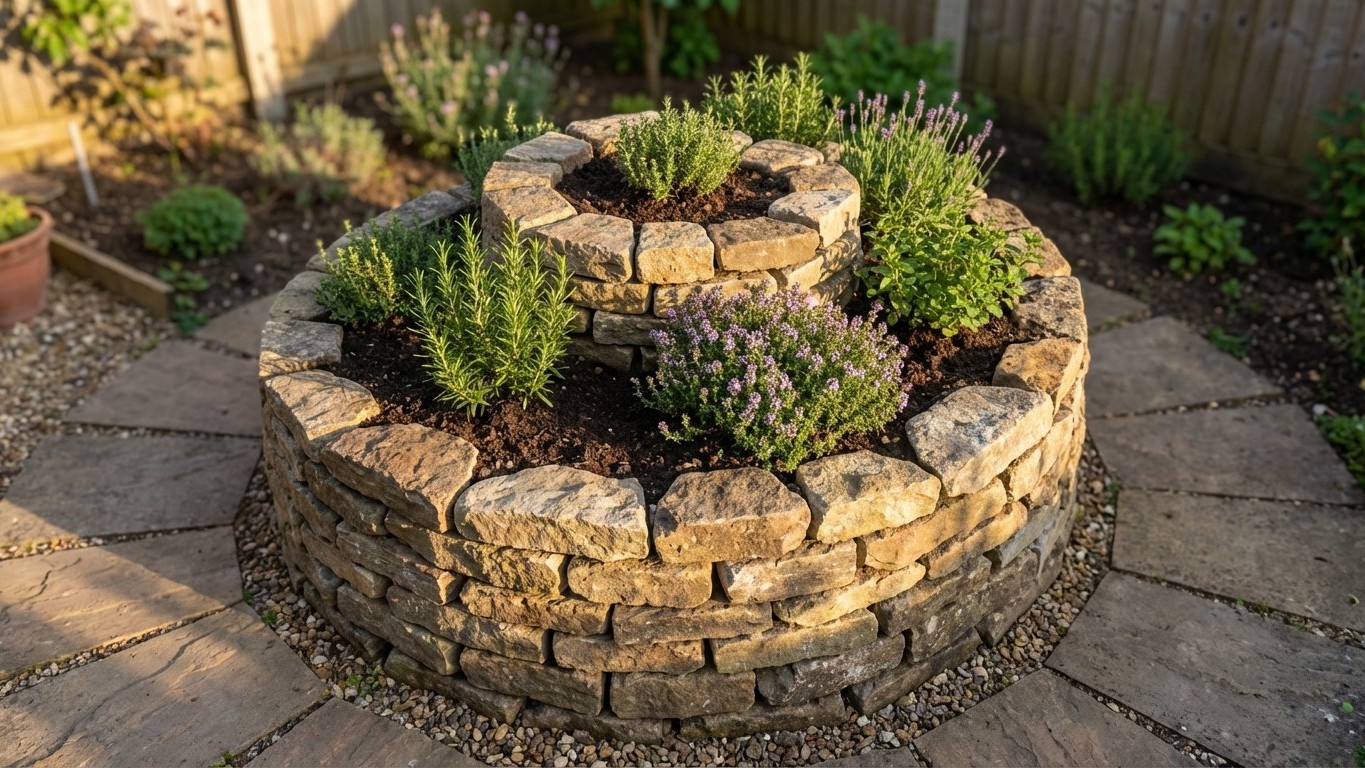
The genius of the herb spiral isn’t aesthetic, though it does look striking in any garden. It’s thermodynamic. A coiled stone structure traps and radiates heat differently at each point along its curve. The top sits highest, drains fastest, and stays warmest: perfect territory for Mediterranean herbs like thyme, oregano, and rosemary, which evolved on rocky hillsides and actively dislike wet roots. Halfway down the spiral, conditions shift. Temperatures moderate, moisture lingers a little longer. Parsley and chives find their comfort zone there. At the base, especially if you face one side north, you get genuine shade and consistent moisture — exactly what mint and cilantro prefer before they bolt in summer heat.
One structure, three distinct microclimates. No irrigation system, no raised bed kit, no expensive planter separators required. Just stone, soil, and physics working together.
Building one: what the process actually looks like
Two square meters of ground. That’s your footprint. You don’t need a sprawling backyard, a corner of a patio, an unused side yard, even a generous balcony with load-bearing confirmation from a structural engineer if you’re going vertical on a rooftop.
Start by marking a circle roughly 1.5 meters in diameter with string and a stake. Remove the turf or existing soil to about 20 centimeters deep. This is where most beginner guides skip a step: the base layer matters enormously. Fill the bottom with rubble, gravel, or broken terracotta, anything that prevents waterlogging and gives the structure a stable footing. Compact it lightly.
Then the stones. Dry stone construction, meaning no mortar, no cement. You place stones so they lean slightly inward and lock against each other through weight and angle, the same technique used in ancient European field walls that have stood for centuries without a drop of adhesive. The spiral rises from ground level at the outer edge to about 80 or 90 centimeters at the center peak. As you build, fill the interior with a layered soil mix: compost-rich at the base shading zones, progressively sandier and leaner as you approach the top. That soil gradient mirrors the drainage gradient the stones create.
The whole build, for someone working methodically on a weekend, takes six to eight hours. No specialized tools. A wheelbarrow, a rubber mallet to nudge stones into alignment, and a level if you want to be precise about it.
Choosing your plants strategically
This is where people tend to over-complicate things. The spiral doesn’t need twenty species to justify itself. Five or six well-chosen herbs, placed thoughtfully, will outperform a chaotic flat bed three times the size.
At the summit, rosemary anchors everything visually and practically. It handles the exposed position, survives on rainfall alone once established, and its woody structure helps stabilize the top stones. Thyme spreads between the rocks beautifully, filling gaps and releasing fragrance when you brush past. One step down the curve, oregano thrives alongside sage, both Mediterranean in origin, both grateful for the partial drainage that mid-spiral positioning provides.
Lower positions belong to the softer herbs. Parsley is slower to bolt when it gets some afternoon shade from the upper stones. Chives are practically indestructible and repel certain aphids from neighboring plants (a quiet benefit nobody talks about enough). At the very base, near any moisture-retaining pocket you’ve created, mint goes in, but contained. Even in open ground, Planting mint inside a buried pot or mesh sleeve stops it from doing what mint always does: taking over everything with alarming speed.
Cilantro is a personal choice. It bolts fast in heat, which means the cooler, shadier base position buys you maybe two extra weeks of leaf harvest before it flowers. Worth it, especially if you cook regularly with it.
The part nobody mentions: maintenance is almost nothing
After the first season, a properly built herb spiral is essentially self-sustaining. The stones absorb daytime heat and release it overnight, extending your growing season on both ends, herbs start earlier in spring, continue later into fall. In regions with mild winters, rosemary and thyme stay productive year-round.
Watering becomes intuitive rather than scheduled. Rain does most of the work. During dry spells, a slow pour at the base lets capillary action pull moisture upward through the gravel layer, you’re not fighting gravity, you’re working with it. The few weeds that attempt to establish between stones are easy to spot and extract before they set root.
There’s also something that doesn’t appear in any how-to guide: the structural confidence a dry stone spiral gives a garden corner that previously felt unfinished. Visitors ask about it. Children want to touch the stones. It becomes a focal point without trying to be one, which is the best kind of garden feature.
The deeper question the herb spiral raises, once you’ve built one and watched it work through a full year, is why we default to flat, uniform growing conditions for plants that evolved across wildly different elevations and climates. Mediterranean hillsides don’t look like English kitchen gardens. Maybe the plants have been quietly trying to tell us something all along.