
I’ve got everything I need to write a factually grounded piece on this classic squash-storage mistake.
Cutting a squash stem flush with the fruit is one of the fastest ways to destroy a harvest that should have lasted until spring. That tidy stump you left behind isn’t a cosmetic choice. It’s an open door. If skin is broken or bruised, fruit won’t store well, and pulling can easily dislodge or break the stem, which creates a large wound on fruit that’s likely to rot. By the time December rolls around, what looks like a damp patch spreading under the stalk is often the first visible sign of decay working its way outward from that cut.
Key takeaways
- A flush-cut stem looks tidy but opens a direct pathway for rot-causing pathogens into the fruit’s flesh
- By December, that ‘damp patch’ under the stalk isn’t condensation—it’s active tissue breakdown spreading to neighboring squash
- Different squash varieties have completely different stem requirements, and one mistake can doom an entire storage pile
Why the Stem Isn’t Just Decoration
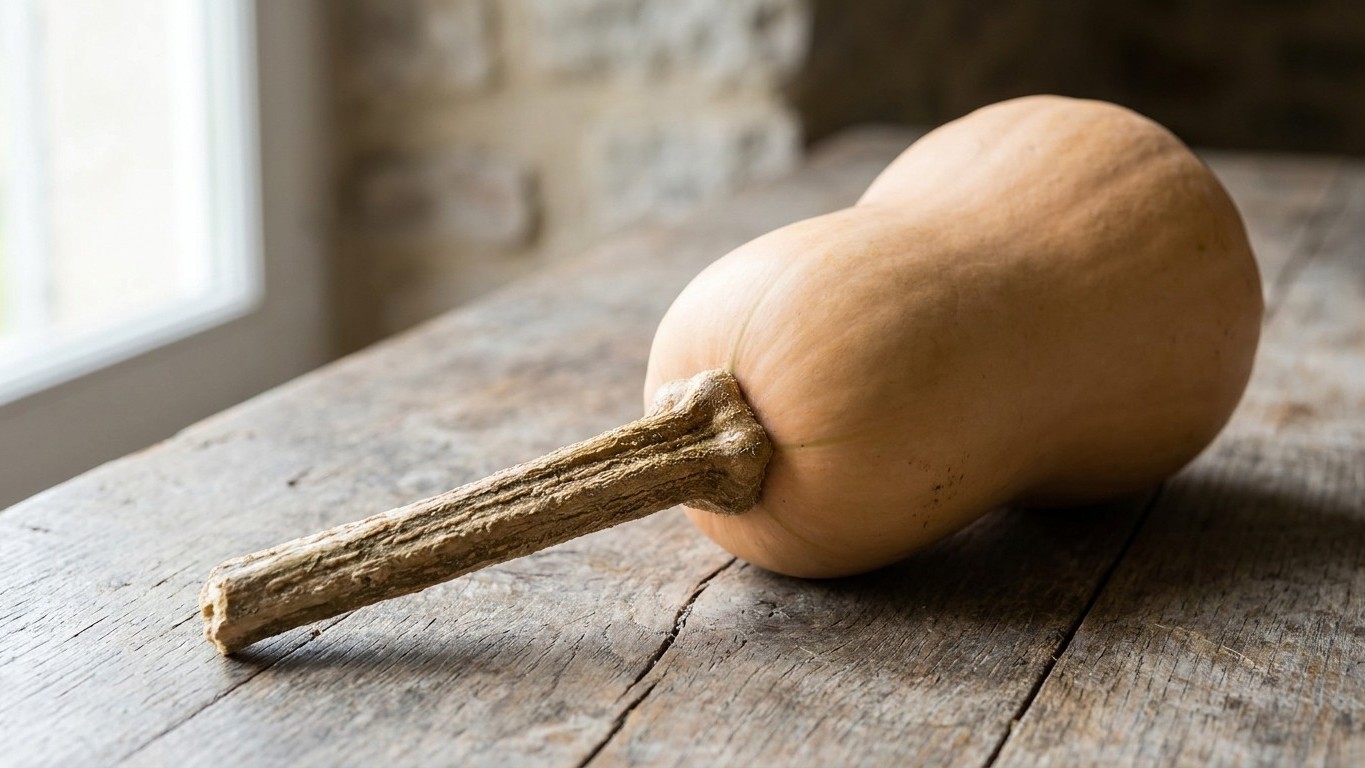
Gardeners tend to think of the stem as a handle, something to grab when moving squash around. It’s actually a structural seal. The stem helps prevent rot when you are keeping winter squash in storage. Cut it too close and you expose living tissue directly to air, moisture, and every bacterium and fungal spore drifting through your basement or garage. Extension offices are specific about the margin you need to leave: maintain 2- to 3-inch-long stems on squash. Some sources go further for larger fruit. Leave 2-inches or more of the stem attached to the squash to help preserve moisture, and the larger the squash, the longer amount of stem should be left intact.
The mechanism matters here. The stem stub slows and reduces microbial infection coming in through the stem and will result in a longer storage period for the winter squash and pumpkins. Think of it as a plug. Without it, the flesh right under the cut stays exposed and moist, which is exactly the environment mold and soft-rot bacteria need to get established. That’s the “damp” you noticed under the stalk. It wasn’t condensation. It was the beginning of tissue breakdown, and once it starts, it rarely stops on its own.
Curing Fixes Small Damage, Not This
Some gardeners assume curing will paper over any harvest mistake. It won’t, at least not this one. Curing does real work: it causes the skin or rind of winter squash to become harder, and hard skin slows respiration, helps the stored squash resist rot and collapse, and allows long storage. The process typically runs 10 days at temperatures between 80°F and 85°F and relative humidity of 80 to 85 percent, requiring about 10 to 14 days of simply letting the squash sit in a warm place with good air circulation.
But curing has limits. It heals nicks and scuffs on the rind, not a gaping stem wound with no protective plug left above it. As one farming guide puts it plainly, the single biggest mistake you can make at harvest is cutting the stem too short or, worse, letting it break off completely. If that happens, the squash isn’t a candidate for the pantry shelf anymore. If the stem breaks off, the squash should be cooked and eaten or frozen within a few days. There’s no fixing it retroactively once it’s already sitting in a cold, dry room three months later, sweating rot into the fruit next to it.
Worth noting: not every squash follows the same rule. Hubbard-type squash stores best with the stem completely removed, which trips up a lot of people who apply one blanket technique to every variety in the pile. Butternut, buttercup, kabocha, and spaghetti squash all want that long stem intact. Acorn and delicata are a separate case entirely. Acorn squash is a winter squash that should not be cured; curing acorn squash will reduce its storage life and quality. Knowing which squash is which before you start snipping saves a lot of grief later.
What Actually Spreads Under a Bad Cut
The pathogens responsible aren’t exotic. Alternaria, anthracnose, bacterial soft rot, and phytophthora are examples of plant pathogens that may cause squash to deteriorate in storage. Once one of these gets a foothold at a flush-cut stem, it doesn’t stay isolated. A rotting squash actively recruits its neighbors into decay. One rotting squash can release ethylene gas and fungal spores that will accelerate the decay of its neighbors. That’s why a single sloppy cut in September can, by December, look like a small outbreak across an entire storage shelf.
Catching it early is the only real defense once the damage is done. During the curing period, make a habit of checking your squash every day, gently pressing on different spots and running your hands over the surface, looking for soft spots and the first signs of fuzzy mold, often starting around the stem or blossom end. Pull anything suspicious the moment you spot it. If you find a squash that is starting to soften or show mold, remove it immediately.
Getting the Cut Right Next Time
The fix is almost embarrassingly simple. Use clean pruners or scissors, not a knife twisted at the base, and stop well short of the fruit itself. Use scissors or pruners to cut squash from vines, since pulling can easily dislodge or break the stem. Leave that two-to-four-inch handle standing proud, resist the urge to trim it for a neater-looking harvest photo, and let curing do the rest of the work of sealing the surface. A slightly untidy pile of squash with long, corky stems will always outlast a photogenic one where every fruit was clipped flush.
One more detail that surprises first-time growers: the stem’s dryness is actually a maturity signal, not just a storage feature. The stem or handle of the squash will begin to dry out and become corky closer to maturity. A green, moist stem often means you harvested too early, regardless of how the rind looks. So that stub you’re tempted to trim away is doing double duty, telling you the squash was ready to pick and then protecting it for the months afterward.
Sources : extension.psu.edu | growagoodlife.com