Thirty dollars a pop. That’s what I was spending every spring at the garden center, loading another potted fig into my trunk like it was a perfectly normal thing to do. Three trees over three years. Do the math. Meanwhile, a nurseryman I barely knew watched me deliberate between two mediocre specimens, sighed, pulled a pocketknife from his belt, and said: “Let me show you something.”
What followed was a five-minute demonstration that made me feel equal parts enlightened and ridiculous. Propagating fig trees from cuttings is one of the oldest, simplest horticultural tricks in existence, practiced by Mediterranean Farmers for thousands of years, and yet most American home gardeners have no idea it’s even possible. The nursery industry, to put it diplomatically, has little incentive to teach you this.
Key takeaways
- A nurseryman’s five-minute lesson exposes why Americans keep overpaying for fig trees
- Figs are biological outliers that practically beg to be propagated from cuttings
- One established tree can produce dozens of clones in a single season using a method older than recorded agriculture
Why Figs Are the Perfect Candidate for Propagation
Not every tree cooperates with this kind of shortcut. Try to root a cutting from an oak or a maple and you’ll mostly be growing disappointment. Figs are different. Ficus carica, the common edible fig, produces roots aggressively from woody stem tissue, a trait that helped the species colonize rocky Mediterranean hillsides long before anyone was tending it. The plant essentially wants to reproduce this way. You’re just helping it along.
The biology works in your favor for another reason: figs are remarkably tolerant of stress during the rooting process. Where a cutting from a more temperamental species might desiccate and die within days, a fig cutting can sit in a plastic bag for weeks, slowly developing the callus tissue that eventually becomes roots. That resilience is exactly what the nurseryman was banking on when he reached for that plastic bag.
The Plastic Bag Method, Step by Step
Timing matters more than technique. The ideal window is late winter to early spring, when the tree is still dormant and the wood has hardened sufficiently after the previous growing season. You’re looking for wood from the last year’s growth, pencil-thick stems, light brown, firm to the touch. Avoid anything too thin or too old.
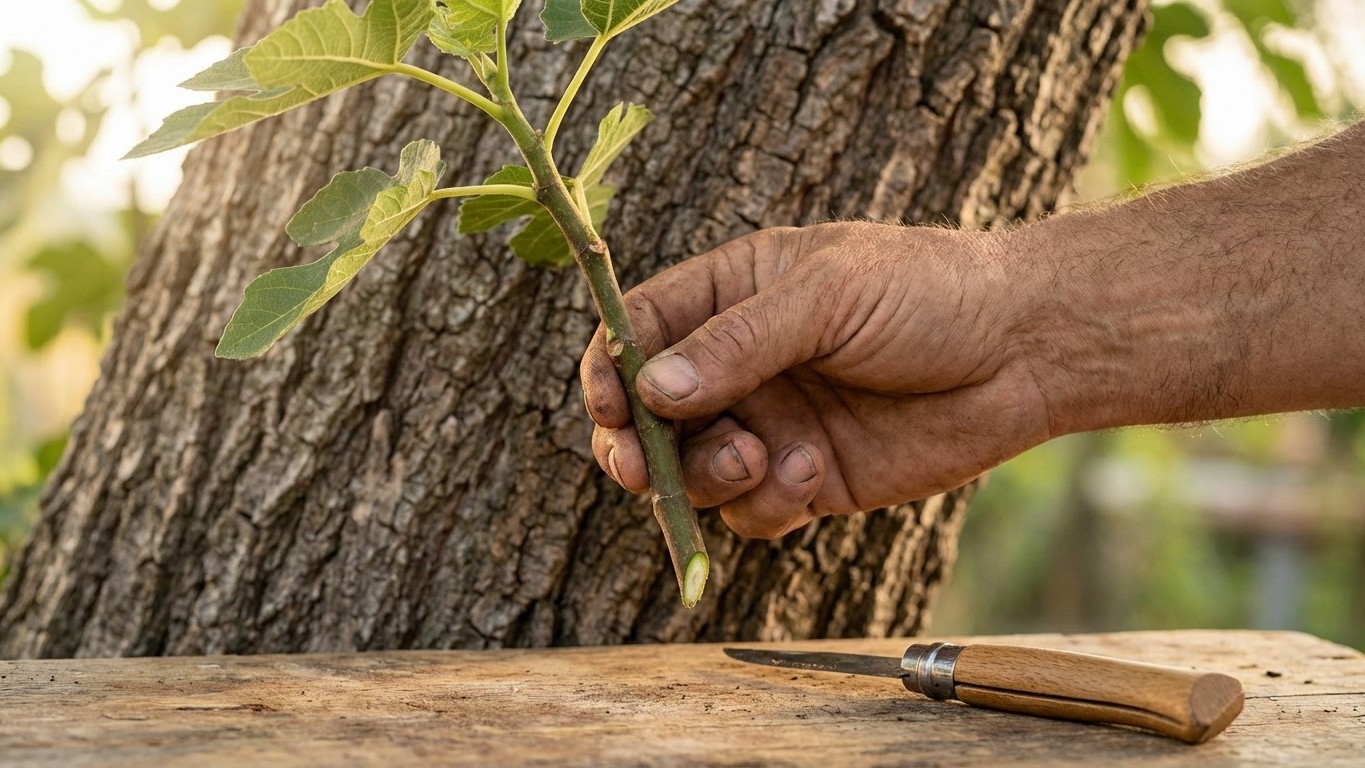
Cut sections roughly 6 to 8 inches long, making a clean angled cut at the bottom (to increase surface area for rooting) and a flat cut at the top. One clean cut matters more than any special tool, a sharp knife, not scissors, to avoid crushing the cellular tissue. The nurseryman used a folding Opinel he’d clearly sharpened that morning. That detail stuck with me.
Each cutting should have at least two or three nodes (the slightly raised bumps where leaves will emerge). Strip any remaining leaves. Then comes the plastic bag: place two or three cuttings together, wrap the bottom third in a damp paper towel, slide the whole bundle into a standard zip-lock bag, and seal it. No soil yet. No water. Just humidity trapped around the wounded tissue.
Set the bag somewhere warm, on top of a refrigerator works surprisingly well, or near a south-facing window. Not in direct sun, which will cook the cuttings before they have a chance. Then wait. Three to six weeks, depending on temperature. You’ll know roots are forming when you see white nubs emerging from the base of the cutting, or when the cutting itself begins to show tiny green leaf buds pushing through.
Moving to Soil (and What Most People Get Wrong)
This is where impatience kills an otherwise successful propagation. The moment people see roots, they want to plant immediately in rich, well-amended garden soil. Wrong move. Newly rooted cuttings are fragile systems, they’ve developed enough root tissue to sustain themselves in a controlled, humid environment, not to compete with the full biological complexity of outdoor soil.
Start in a small pot, four to six inches, filled with a well-draining mix: think perlite cut with a basic potting medium, around 50/50. Keep the soil consistently moist but never waterlogged, and shelter the young plant from wind and intense direct sun for the first few weeks. This transition period, sometimes called “hardening off”, is the difference between a cutting that thrives and one that collapses just when you Thought you’d succeeded.
By the following spring, you’ll have a plant that looks, behaves, and produces fruit identically to its parent. Figs propagated from cuttings are clones, genetically identical to the source tree. If you took your cutting from a Brown Turkey or a Celeste or a Black Mission, that’s exactly what you’re growing. No surprises, no genetic lottery.
Scaling Up (and Thinking About Your Neighbors)
Here’s where this whole exercise stops being about saving $25 and starts being something more interesting. A single established fig tree can yield dozens of cuttings in a single pruning session. Even accounting for a realistic success rate of 70 to 80 percent with the bag method, one tree can theoretically produce 20 or 30 new trees in a year. That’s enough to fill a backyard, supply a community garden plot, and still have extras to leave on the neighborhood free shelf.
Several heritage fig varieties, grown by Italian and Greek immigrant families for generations and never sold commercially — have survived precisely because of this kind of informal propagation. Cuttings passed over backyard fences, traded at farmers markets, mailed in paper towels inside padded envelopes. The fig tree in your neighbor’s yard might carry a lineage no nursery catalog has ever catalogued.
There’s something worth sitting with in that thought. The nurseryman who stopped me that afternoon wasn’t just showing me a money-saving hack. He was handing over a piece of agricultural knowledge old enough that nobody quite knows where it started. The question now is what you do with that cutting, and who you pass one to next.