
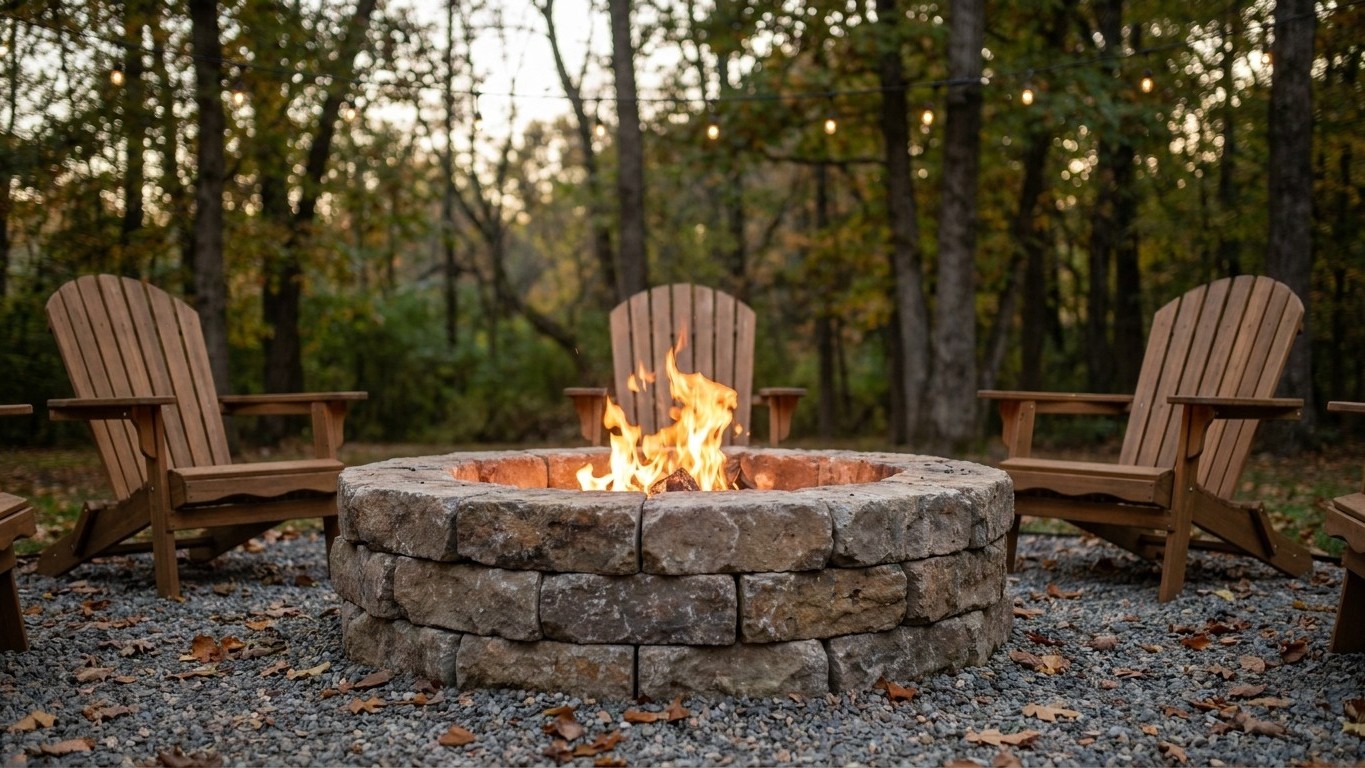
Labor Day marks the unofficial start of fire pit season, and the math behind building your own is hard to ignore: a basic DIY setup runs somewhere between $150 and $400 in materials, while a comparable prefabricated model from a home improvement store often starts at $600 and climbs past $1,500 for anything with real presence in a backyard. The gap isn’t just about money. A weekend project you build with your own hands tends to get used more than something ordered online and left in a box until October.
Fall is when fire pits earn their keep. Summer evenings are often too warm for a blaze, and mosquitoes make sitting outside after dark a chore anyway. Once September temperatures drop into the 60s and bugs thin out, that ring of stone and fire becomes the natural gathering point for the next several months, right up until snow makes the backyard unusable again in most of the country.
Key takeaways
- Why a $200 DIY fire pit gets used more than a $1,500 store-bought model
- The one material mistake that causes most backyard fire pits to crumble within two seasons
- The exact diameter and height that works for six to eight people without wasting heat
Picking the Right Spot and Style
Location decisions get made once and lived with for years, so they deserve more thought than most people give them. The National Fire Protection Association recommends keeping any outdoor fire feature at least 10 feet from structures, fences, and overhanging branches, and checking local ordinances before digging a single shovel of dirt. Some municipalities require permits for permanent fire pits; others ban wood-burning entirely during drought conditions and only allow gas.
Two basic approaches dominate the DIY world: the in-ground pit and the above-ground ring. In-ground versions involve digging a shallow bowl, lining it with fire brick or a metal insert, then stacking stone or brick around the rim flush with the surrounding grade. Above-ground rings sit entirely on top of the soil, built up in circular courses of concrete block, natural stone, or specially designed fire pit blocks that interlock without mortar. The above-ground style is generally easier for a first-time builder, since there’s no excavation and mistakes are easier to fix mid-project.
Diameter Matters More Than most tutorials mention. A pit under 36 inches across feels cramped once four or five chairs surround it, while anything over 45 inches tends to throw heat outward rather than concentrating it where people are sitting. Most professional landscapers land on 36 to 44 inches for a seating area meant to hold six to eight people comfortably.
Materials That Actually Hold Up to Heat
Not every stone belongs near an open flame. River rock and many decorative landscaping stones contain trapped moisture that can turn into a small explosion when heated rapidly, sending sharp fragments flying. Fire brick, rated for temperatures well above what a backyard fire produces, is the safest interior lining. Concrete pavers marketed specifically as “fire pit blocks” are engineered to handle sustained heat and are widely available at home centers for roughly $2 to $4 per block.
A metal fire ring insert, usually a simple steel cylinder available in standard diameters, does two things at once: it protects the inner stone layer from direct flame contact and it makes ash cleanup dramatically easier. These inserts run $30 to $80 depending on gauge and diameter, and they’re one of the few components worth buying new rather than improvising.
For the base, a layer of coarse gravel or crushed stone, roughly 4 to 6 inches deep, provides drainage so rainwater doesn’t pool and crack the structure over winter freeze-thaw cycles. Skipping this step is the single most common reason DIY fire pits crumble within two or three seasons. Sand poured over the gravel and tamped flat gives a level surface for the first course of blocks or brick.
Building It: A Weekend, Not a Week
Start by marking the circle with a stake, a length of string, and a can of marking paint, then remove sod and dig down about 6 to 8 inches across the entire footprint. Add the gravel base, tamp it firm with a hand tamper or rented plate compactor, then top with an inch of sand and level it with a long board.
Set the first course of blocks or brick around the perimeter, checking level constantly. A pit that’s off by even half an inch at the base amplifies that error as courses stack, and by the third or fourth ring it’s visibly crooked. Most builds run three to four courses high, landing around 12 to 16 inches, a height that works for standing to tend the fire and for the glow to reach people seated in chairs a few feet back.
Dry-stacking, meaning no mortar between stones, works fine for above-ground rings and lets you disassemble the whole thing if plans change. For a more permanent structure, a construction adhesive rated for outdoor masonry bonds each course to the one below without the mess of traditional mortar work. Insert the metal fire ring once the outer wall reaches its final height, and backfill any gap between the ring and the stone with sand or small gravel.
Total time for someone with basic tool experience: one full weekend, including a trip to buy materials. The gravel base and curing time for adhesive, if used, are the only steps that can’t be rushed.
Fuel, Safety, and Getting the Most Out of Fall
Seasoned hardwood, split and dried for at least six months, burns cleaner and hotter than the green or softwood scraps sometimes sold cheap at gas stations near campgrounds. The U.S. Forest Service notes that unseasoned wood produces significantly more smoke and creosote buildup, which matters even in an open pit because it means more soot drifting onto guests and patio furniture.
Keep a garden hose or a five-gallon bucket of water within reach every time the pit is lit, and never leave a fire unattended, even for a quick trip inside. Embers can smolder in ash for 12 to 24 hours after a fire appears out, which is why fully dousing and stirring the ash bed before covering the pit overnight isn’t optional.
A finished fire pit changes how a backyard gets used once daylight starts shrinking after the fall equinox. Adding a simple gravel or paver patio around the pit, roughly 12 to 14 feet in diameter, gives enough room for a ring of Adirondack chairs without anyone sitting directly in the smoke path, which shifts with the wind more than most people expect on any given evening.